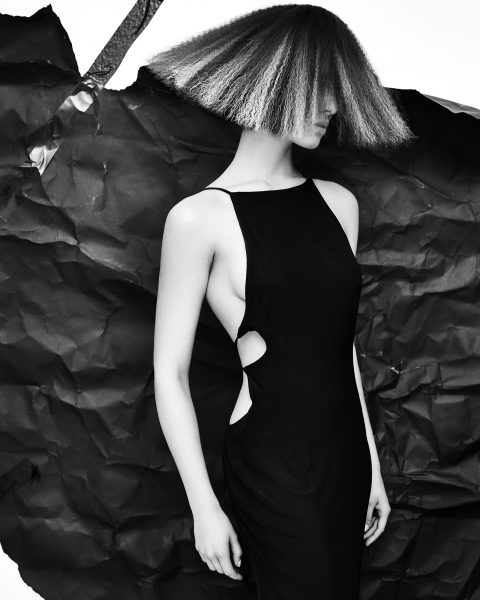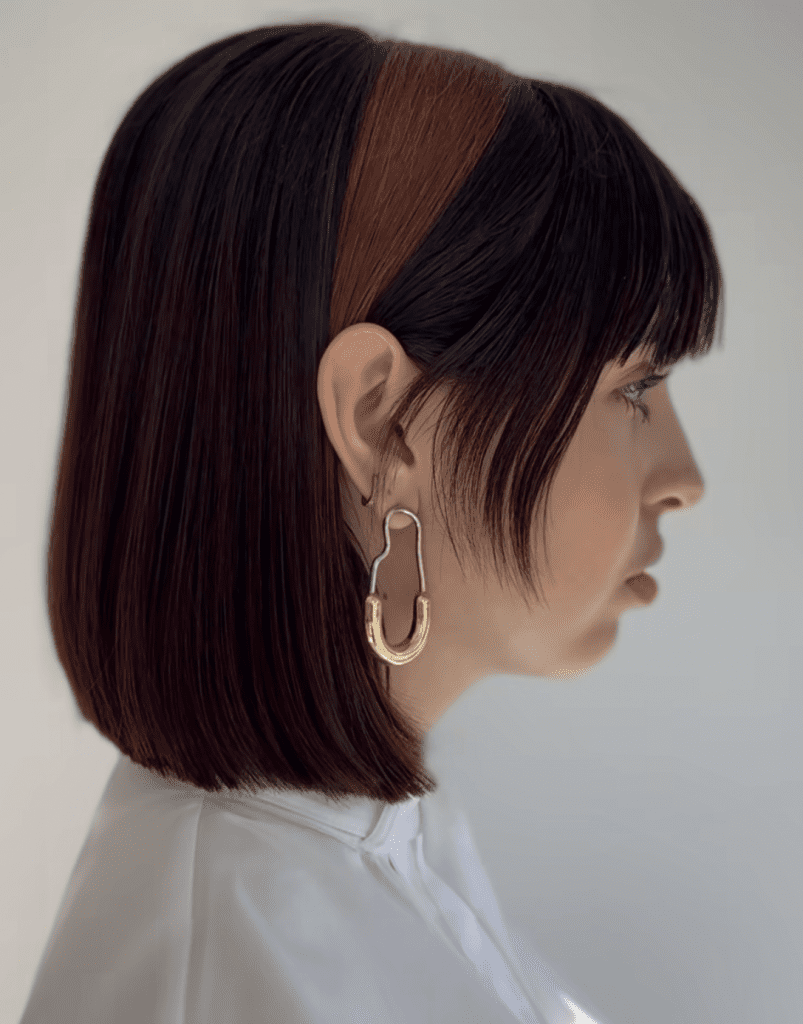
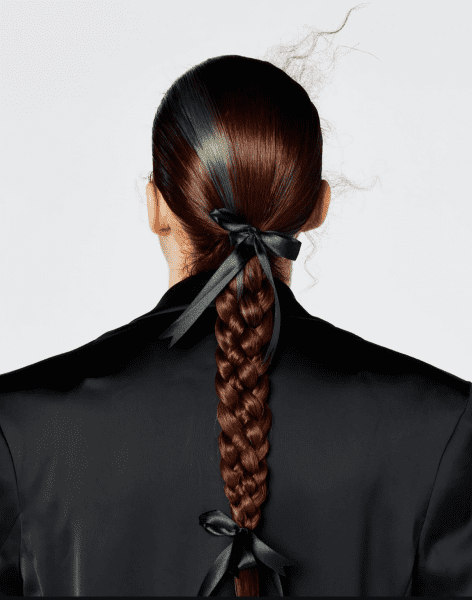
Simple but eye-catching, the new With the Band colour technique from the team at Brooks & Brooks is more than a panel of colour. Whether it is an Alice Band effect created by Marlon Hawkins, or the Invisible Line created by Charlie Illi, this simple technique will elevate your colour services this AW25.
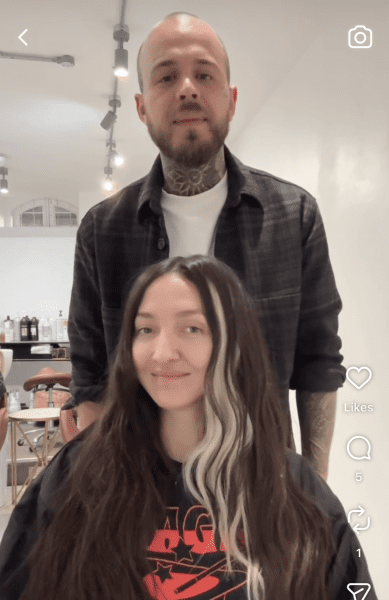
“The technique uses a combination of foil and freehand application methods to create strong bands of colour, like hair accessories you don’t need to remove,” Charlie explains. “This is one of my favourite colour creations, it’s technically demanding, but that’s exactly what I love about it!”
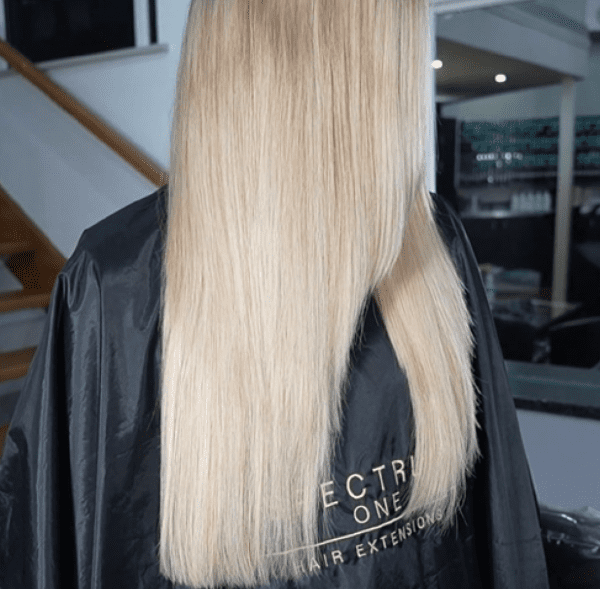
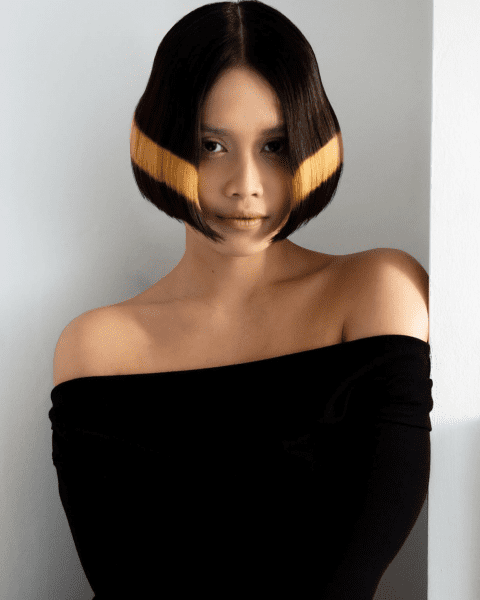
Here she shares how she used this new statement colour technique to add even more drama to this one-length Roxy bob.
My inspiration
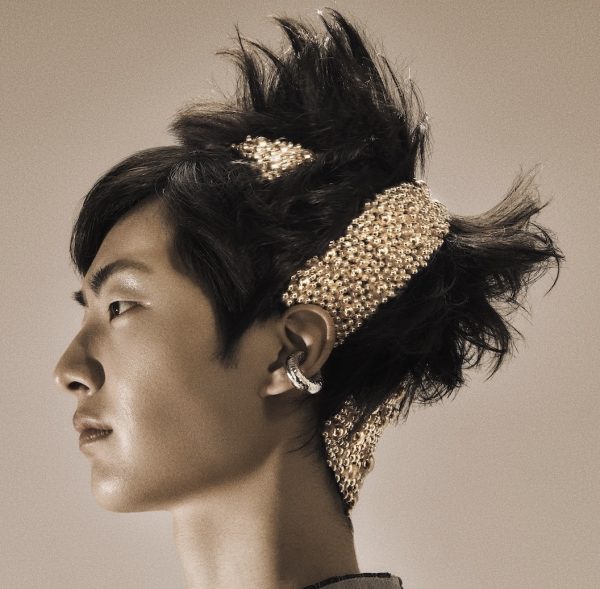
Inspiration came from how hair is a permanent accessory that you wear every day, and how it can bring the uniqueness out in every person. I love following the various Fashion Weeks and started seeing these huge, colourful Alice bands in several shows. This sparked my curiosity as to how I could recreate these accessories with colour.
Why I love it
I love its uniqueness. You can place colour in so many ways – it’s the person in your chair that makes it. And my model really helped bring this to life with her doll-like features.
What I wanted to create
I wanted to create a terracotta shade by mixing mahogany, violet, orange and yellow on a undercoat of 8, which was the perfect level to support my colour choices.
If you want to create more delicate, pastel shades, I’d recommend lifting and pre-toning the hair before applying colour.
My top tips
My top tip for creating this look is to always start with a strong cut as this will form the foundations of your look. This was achieved with back-to-back slices to get the perfect lift. Also, make sure you don’t apply the pre-lightener all the way through to the ends as this will create a panel rather than the desired Alice Band effect.
Get the Look
STEP 1: Cut First
Start with the haircut to map out the lines. The secret of creating this one-length Roxy bob is to exaggerate the weight at the occipital bone with a short fade into the neck.
STEP 2: Sectioning for colour
Divide the hair into four clean sections using a cross-bun technique, working one section at a time, keeping the partings parallel to the head shape for control.
STEP 3: Painting the line
Lay the first 5mm section on foil and secure with masking tape, mapping the thickness of the colour line. Pre-lighten the section with L’Oréal Professionnel Pre-lightener (9 levels and 20 vol), then tape over it to prevent bleeding.
STEP 4: Layering up
Lay the next section on top with a natural fall, avoiding over-direction and tension, then carefully freehand paint the line again. Repeat this process section by section to the top.
STEP 5: Finishing Touches
After processing, leave the colour raw for maximum vibrancy. Wrap-dry the hair, then add a soft bend at the horseshoe hairline by lifting sections and blow-drying into a curve by hand.
For more of the latest industry news click here
________________________________
Respect is a hub for UK hairdressers of all ages and stages to find out what We Love, We Hear and We See as the best product launches, styling advice, hairtools, education training and seminars and hairshows! Sign up to our newsletter which is sent fortnightly direct to your email, so you stay up-to-date with salon styling information, trends in session work, advice on presenting on stage or progress in educating- whatever your interest, whether you’re a trainee or creative director, an educator or team leader, you’ll find all the opportunities and ideas on www.respectyou.me