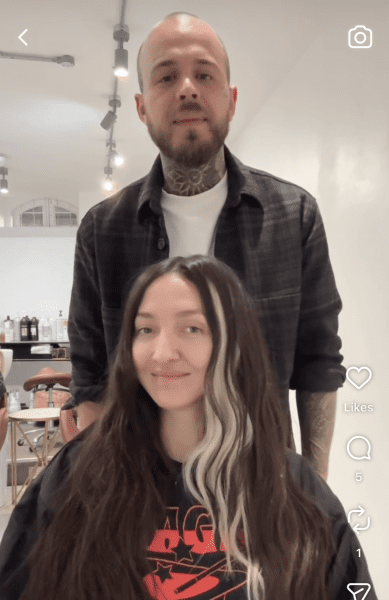
Katy Grimshaw, founder of Spectrum One Hair Extensions, has launched the first ever extensions cutting course, Beyond the Blend, engineered to help extensionists to take their finish to a whole new level. This isn’t a simple ‘cut and blend’, it’s a cutting course library that will arm stylists with the knowledge they need to overcome any cutting, blending or finish challenges.
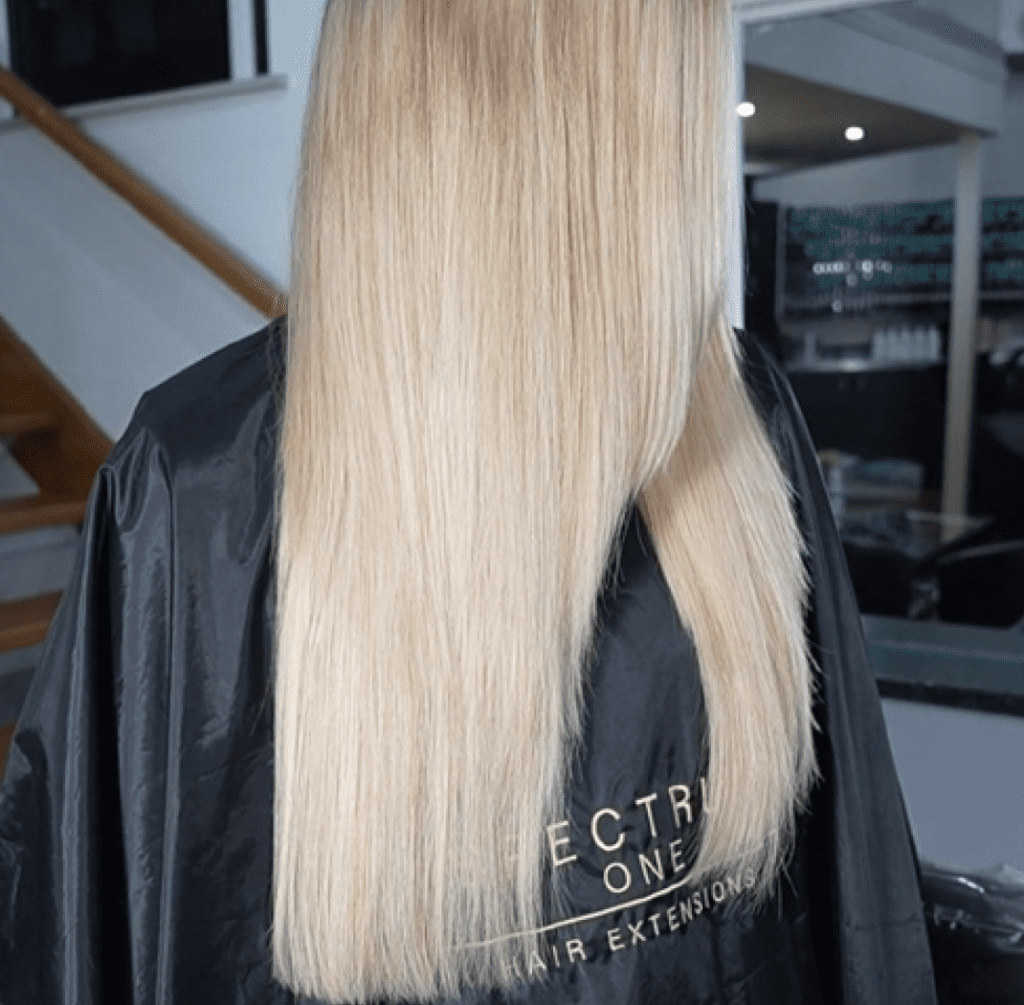
The blunt line blend cut
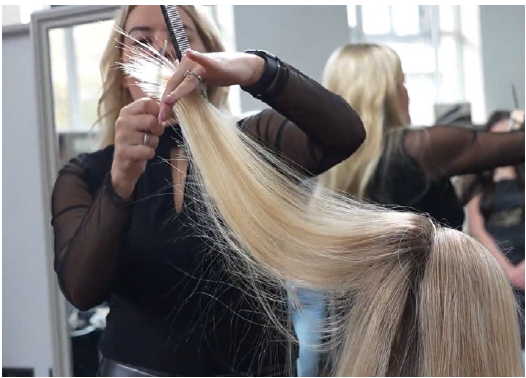
Step 1: Starting at the crown of the hair, take your first section and pull forward towards the face for a heavy over-direction.
Step 2: Hold the ends of the hair between your index and middle fingers. Here you’ll see the ends of the hair which are causing the heaviness in the blunt haircut. Not taking too much off, you’re going to point cut those ends.
Step 3: Take the next section pivoting around the head and repeat.
Step 4: When reaching the sides, close to the face, subdivide the hair and leave the face framing section, we’re not going to cut into that just yet.
Step 5: Going back through the same sections you’ve completed with over-direction point cutting, you now want to focus on the heaviness that’s in the final 2cm of the length and thin those out ever so slightly.
Step 6: Next, create a section and direct the hair up and out away from the clients head to create graduation, then point cut into the ends again.
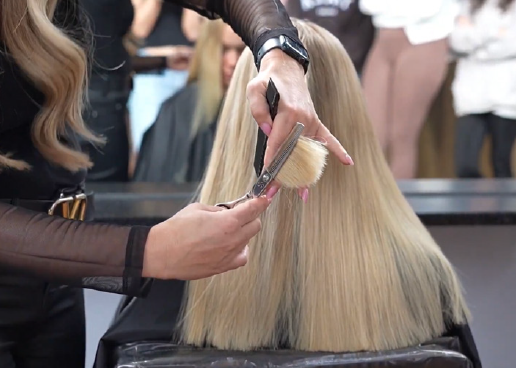
Step 7: Section out the bottom layer of the hair extensions, clipping the rest of the hair out the way. Take a section of this layer, you’ll want to do this twice, once on the far left hand side and once on the far right hand side. Flip the hair over and cut layers into the section. The result will create a V shape that will blend the hair together when the client flips her hair forward to the front.
Step 8: Next, we’re cutting the baseline in. This client wants a blunt haircut, so establish a baseline to get rid of any fluffy ends. Precisely point cut up to that line. This is ever more crucial when cutting I-Tips and Nanos as each individual strand has a blunt end.
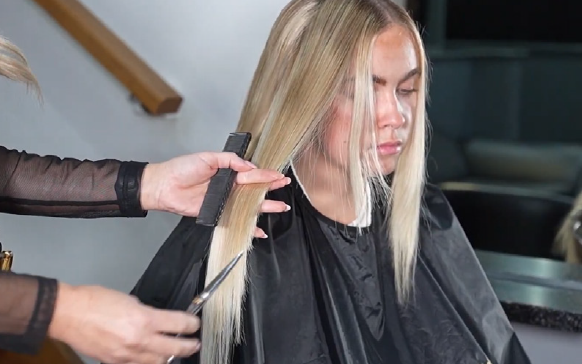
Step 9: When you reach the side sections have the client tilt their head back and to the opposite side to create graduation. This will ensure the hair hangs properly when the client returns their head to a normal position.
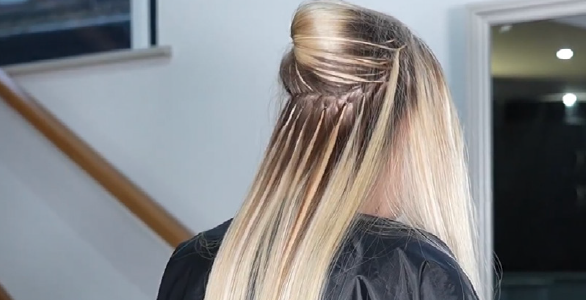
Step 10: Now comes time to blend the natural hair line. Have the client sit back down and section the natural hair above the top line of the extensions. Repeat the process of over-directing the hair and point cutting.
Step 11: Ensuring we don’t cut into the base at the bottom, pick up the top few layers of extensions, over-direct and level out the shorter pieces with the longer pieces using a scooping motion with your scissors. Continue all the way around the head.
Step 12: Ensuring we don’t cut into the base at the bottom, pick up the top few layers of extensions, over-direct and level out the shorter pieces with the longer pieces using a scooping motion with your scissors. Continue all the way around the head.
Step 13: To blend the natural hair line with the extensions, take a section holding the hair just above the natural hair line, flip it under, take the scissors and softly cut in a backcombing motion. Cutting into both the natural hair and the extensions with this motion will ensure the texture is consistent throughout the blend.
Step 14: Finally, we’re going to work on the front sections. Using the clients own hair as a guide, using the inner part of your blade, soften in the extensions by layering and blending both together.